How to Prepare Images for Print: Resolution, Color and File Tips
Learn how to prepare images for print: check pixel size, aim for 300 PPI, handle bleed and color, choose the right format, and upscale small photos.
5 min read
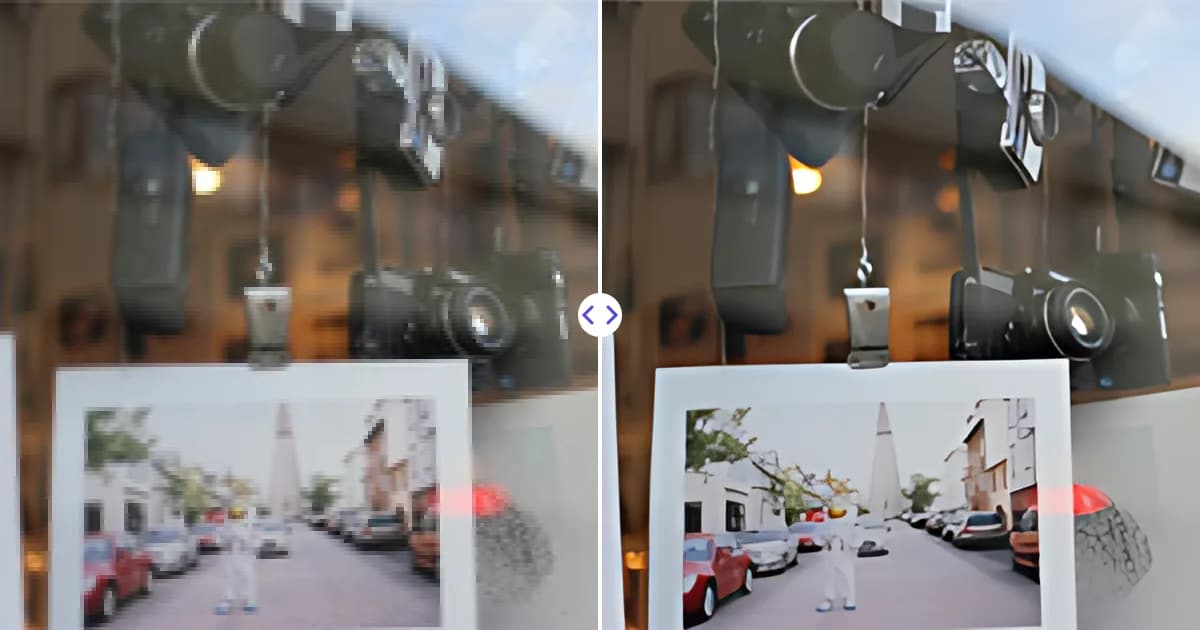
To prepare an image for print, make sure it has enough pixels for the print size (a common guideline is 300 PPI for close viewing), add bleed if the design runs to the edge, use the color settings your printer asks for, and export in a high-quality format such as TIFF, PDF, PNG or a high-quality JPG. Checking these points before you order saves you from blurry prints and color surprises.
Step 1: Check whether the image has enough pixels
Printing is where resolution problems become visible. A photo that looks crisp on a phone screen can turn soft or blocky when printed at poster size, because the screen shows it small.
Use this formula to see how large an image will print at a given density:
Print size (inches) = pixel dimension ÷ PPI
Or turn it around to find the pixels you need:
Required pixels = print size (inches) × PPI
| Print size | At 300 PPI | At 150 PPI |
|---|---|---|
| 4 × 6 in | 1200 × 1800 px | 600 × 900 px |
| 5 × 7 in | 1500 × 2100 px | 750 × 1050 px |
| 8 × 10 in | 2400 × 3000 px | 1200 × 1500 px |
| 11 × 14 in | 3300 × 4200 px | 1650 × 2100 px |
| 18 × 24 in | 5400 × 7200 px | 2700 × 3600 px |
300 PPI is a widely used target for photos, flyers and brochures held at arm's length. For posters and banners viewed from a few feet away, around 150 PPI often looks fine, and very large signage can use much less. Your print provider's guidelines take priority over any general rule.
Remember that PPI is not the same as printer DPI, and changing the PPI number in a file does not add detail. Our article on DPI vs PPI vs resolution explains the difference.
Step 2: Upscale images that are too small
If your image falls short of the pixels you need, you have three choices: print smaller, accept a lower PPI when the viewing distance allows it, or enlarge the image.
Standard resizing in an editor makes images bigger but softer. AI upscaling reconstructs edges and textures so the enlargement holds up better on paper. The Remove Photo Bg image upscaler enlarges an image 4×, with output up to 4096 pixels on the longest side. That is enough for a print of roughly 13.6 inches on the long edge at 300 PPI, or about twice that at 150 PPI.
- Upload the original JPG, PNG or WEBP file (up to 16 MB).
- Let the AI enlarge it 4× and restore sharper detail.
- Inspect the result at 100% zoom, paying attention to faces and text.
- Download it and place it in your print layout at the intended size.
For more background, see how to increase image resolution.
Step 3: Crop to the right aspect ratio
Print sizes have fixed proportions. A typical phone photo has a 4:3 aspect ratio, while a 4 × 6 print is 3:2 and an 8 × 10 print is 5:4. If the ratios do not match, either the printer crops your image automatically or white borders appear.
Crop the image yourself to the exact proportions before ordering, so you decide what gets cut. Keep important elements such as faces, text and logos away from the edges.
Step 4: Add bleed and respect the safe zone
Commercial printers print on larger sheets and trim them down. Because trimming is never perfectly precise, any design that runs to the edge needs bleed: extra image area beyond the final trim line.
- Bleed is commonly about 0.125 inch (3 mm) on each side, but check your printer's specification.
- Trim line is where the paper is cut.
- Safe zone is a margin inside the trim line, often a similar distance, where all text and important details should stay.
For a 5 × 7 inch card with 0.125 inch bleed, the full artwork would be 5.25 × 7.25 inches. Photo prints from consumer labs usually handle this automatically, but business cards, flyers and posters typically require it.
Step 5: Get the color right
RGB vs CMYK
Screens display color with red, green and blue light (RGB). Most commercial printing uses cyan, magenta, yellow and black inks (CMYK), which cannot reproduce some very bright, saturated screen colors. Neon greens and electric blues are common examples that print duller than expected.
Many consumer photo labs prefer RGB files (usually sRGB) and handle the conversion themselves, while commercial printers may request CMYK PDFs. Follow your provider's instructions rather than converting by default.
Brightness and proofing
Phone and laptop screens are bright and backlit, while paper reflects light. Prints therefore often look darker than the image on screen. If your past prints came out too dark, brighten the image slightly before printing, or order a small test print first.
Step 6: Clean up the image before printing
Print makes small flaws more noticeable. Before exporting, check for:
- Dust spots, sensor specks or stray objects; the Remove Photo Bg object remover can paint them away.
- Distracting backgrounds on product shots or portraits; the background remover creates a transparent PNG you can place on a clean background in your layout software.
- Damaged or faded scans; see how to clean up old photos for a full restoration workflow.
Step 7: Export in a print-friendly format
| Format | Good for | Notes |
|---|---|---|
| Flyers, cards, multi-page documents | Preferred by most commercial printers; can include bleed and fonts | |
| TIFF | High-end photo printing | Lossless, large files |
| JPG | Photo prints | Use the highest quality setting to avoid artifacts |
| PNG | Graphics, logos, cutouts | Lossless; supports transparency for layouts |
Avoid saving a JPG over and over during editing, since each save adds compression. Keep a lossless master and export one final copy.
Quick print checklist
- Pixel dimensions meet the target PPI for the print size
- Aspect ratio matches the print format
- Bleed added and text inside the safe zone, if required
- Color mode and profile match the printer's request
- Image cleaned of dust, blemishes and distractions
- Exported in the requested format at high quality
If your only copy of a photo is too small for the print you want, start with the free Remove Photo Bg upscaler, then run through this checklist before ordering.